
Step 1: Open your MyOHIO Student Center . Enter your OHIO IDand password, then select the Sign Inbutton.
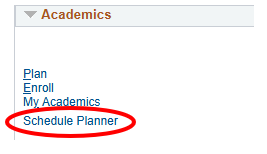
Step 2: In your MyOHIO Student Center dashboard, locate the Schedule Plannerlink under the Academicssection.
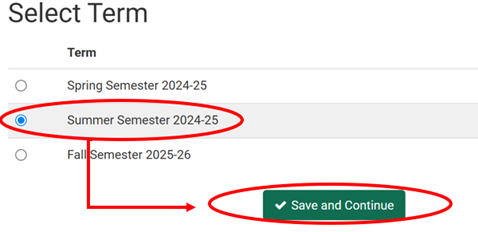
Step 3: After the Schedule Planner page launches in a new tab, you will select the term you are going to plan classes for. In this photo example, Summer Semester 2024-25 is used .
First, select the term you are going to plan.
Then, select Save and Continue .
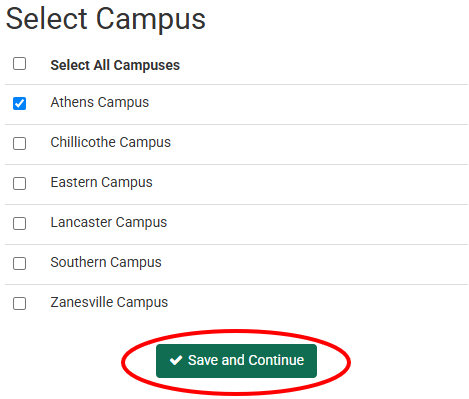
Step 4: Select the campus you intend to take your classes on. In this photo example, Athens campus is used
Select the checkbox next to the campus you would like to plan courses for. You may select multiple campuses if you intend to take courses at multiple campuses.
Then, select the Save and Continue button.
Step 5: You will now be on the home screen of the Schedule Planner.
First, select Add Course to select courses you'd like to enroll in.
Step 6: Use the Subject and Course Number dropdown menusto search for classes. After finding a course, select Add Course to include it in your schedule. Repeat the process for all desired courses.

When you have picked all your courses, select the green Done button.

Step 7: If you’d like, you may add breaks to your schedule. To do this, you will select Add Break to select times for breaks in your schedule. If you do not need to add breaks to your schedule, skip to Step 9.
Step 8: Name your break, select start and end times, and choose applicable days . For example, you want a break in your schedule for your work study shift.
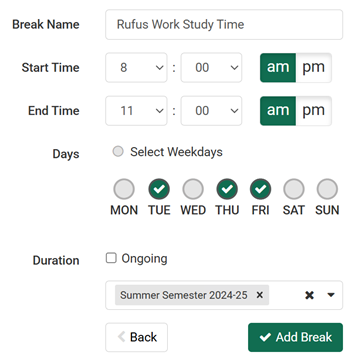
Select Add Break to finalize.
Step 9: Now that you have selected your desired courses and added breaks, you can now generate schedules.
To do this, select the Generate Schedules button.
Scroll through the results, then select View to see detailed class times and locations.
Step 10: Once you find your preferred schedule, select the Send to Shopping Cart button. You can also print or email your schedule for your use.
This will send your classes to your MyOHIO Student Center.
Once you do this, return to your Student Center and finish enrolling.
If you have questions about the registration process, please call 740.593.4495 or email registration@ohio.edu . If you have technical questions about the system or the webpage is not working, please call 740.593.1222 or email servicedesk@ohio.edu .