
Milestones That Shape the Bobcat Experience
At Ohio University, our legacy is built on innovation, impact, and the unmistakable Bobcat spirit. Use the timeline element to showcase key milestones, events, and achievements that shape our vibrant university community. From groundbreaking research and campus expansions to student celebrations and academic excellence, the timeline element captures the moments that define who we are.
Features
This element contains many optional features to get the look that you want to achieve. You can create a timeline with only a year and short title, only text, or images with optional text in various column width layouts.
Recommended Image Sizes
There aren't specific image size recommendations, but editors should size accordingly to how the image is being used on the page. Make sure that the image is high enough resolution for the configuration selected. For example we wouldn't want a smaller image (ex. 300x500) to be used in the full width image option since it would be stretched out and likely pixelated. Even so, full width images do not need to be wider than 1800px. Every image should still follow the general image guidelines for optimization. Overall the element is quite flexible and will accommodate the various size images editors may want to add.
View Instruction Details
- Open the dropdown menu next to Add Page Content Row [Advanced].
- Select the option to Add Timeline.

- There are three different feature sections that can be added to a timeline element. You can add more than one feature to the same timeline.
- Notable Moments
- Timeline - Images with Optional text
- Text only

Notable Moments
-
Add Time Period Heading and Notable Events Heading

-
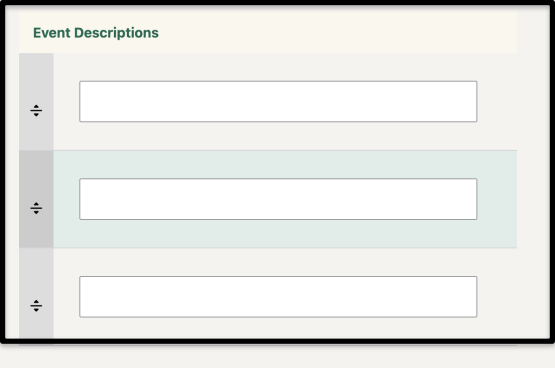
Add Event Heading: Each Event Heading should have a corresponding Event Description.

-
Add Event Description
-
Add another timeline feature if needed.

Add Timeline - Image with Optional Text
- Choose Layout: There are seven different image layout options to choose from:
- One Image
- Half Image Left & Half Text Right
- Half Text Left & Half Image Right
- Narrow Text Left & Wide Image Right
- Wide Image Left & Narrow Text Right
- Narrow Image Left & Wide Image Right
- Wide Image Left & Narrow Image Right

-
Add the image(s)

-
Add optional image captions.

-
When applicable add the event year, event heading, and body content.

Add Timeline - Text
Add body content in the text editor box using the normal editing options.

Example of Timeline Usage
